Step by step: quality checklist for checking the grommets area on every shift

Grommets rarely fail unexpectedly. In most plants, defects start to develop in the first few minutes of the shift, when a setting has not been checked, the tool carries dirt from the previous batch or the material entering the machine does not fully match the planned adjustment. That is why a well-executed quality review is not a formality, but a preventive routine that avoids waste, rework and disputes at the end of the line.
In sectors such as footwear, leather goods, garment manufacturing, tarpaulins or technical products, there is a very familiar scene that happens more often than it should. Production starts normally, the pace seems right and only after several pieces does someone spot a loose fastening, a slight deformation or a visible misalignment. When the defect is discovered late, the cost is no longer in one piece, but in everything that has continued to come out after it.
The most effective way to prevent this is to work with simple, visual and repeatable checks on every shift. It is not about turning the workstation into a permanent audit, but about establishing shared criteria so that any operator knows what to check before starting, which signs to watch during production and what information must be recorded at the end. That consistency is what makes the difference between an isolated incident and a problem that repeats shift after shift.
These checks should also be adapted to the real factory context. Setting metal or plastic components on leather, technical textile, canvas or PVC is not the same, because each substrate responds differently to pressure, punching and riveting. Good quality control does not start from a general theory, but from the real behaviour of the material on the machine.
What to check in grommets before failures appear
Grommets require an orderly check from start-up, because many defects visible at the end come from a very specific cause at the beginning. The first control block should focus on the condition of the workstation, the machine and the consumables, since starting with accumulated dirt, irregular feeding or mixed references often results in poorly finished pieces.
Before starting the equipment, check that the work area is clean and clear, that there are no material residues, burrs or loose components around the head, and that the tools are correctly mounted. Also look for abnormal play, visible wear or marks that could affect pressing. Basic cleaning and a one-minute visual inspection usually prevent many repetitive defects.
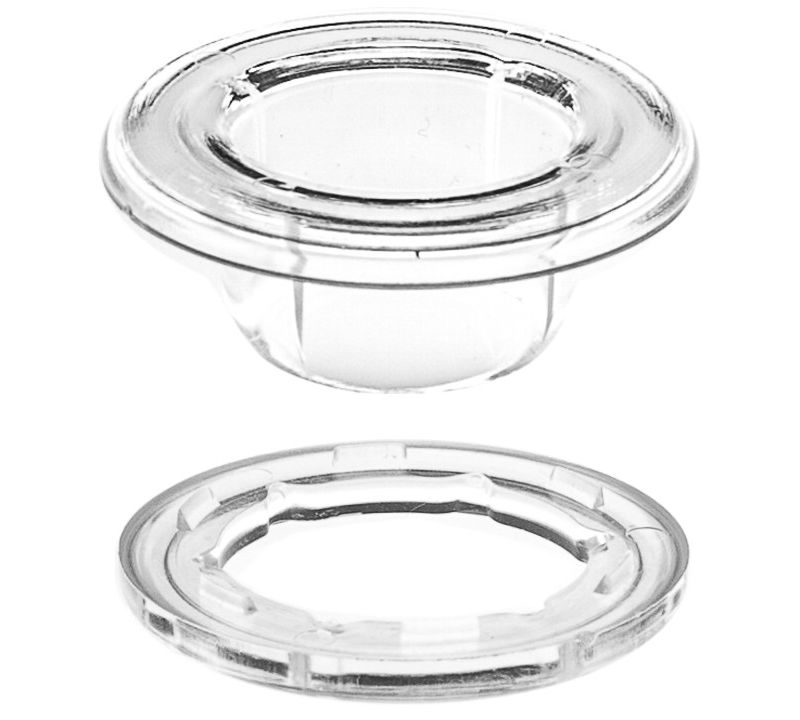
Next, confirm that the correct component is available for the order in progress. This means checking size, finish, colour where applicable, compatibility with the substrate and batch condition. It is also worth checking that feeding is continuous and that there are no deformed pieces in the container, because a single incorrect reference can distort the setting and generate serial incidents.
The next step is to adjust the machine according to the material that is going into production. On leather with a certain thickness, multilayer canvas or a more flexible fabric, the pressure and the way the component seats do not behave in the same way. That is why it is advisable to run several tests on offcuts or first sample pieces and validate three very specific aspects: that the hole is clean, that the centring is correct and that the fastening remains firm without marking or breaking the substrate.
From there, this checklist helps organise daily work.
- Before start-up, clean the head, support area and feeding area.
- Check that tools and working elements are correctly mounted and show no visible wear.
- Verify that the prepared batch matches the order and the material to be processed.
- Check that the first samples are centred and properly riveted.
- Validate that there are no tears, wrinkles or marks around the setting point.
- During production, remove pieces at regular intervals for visual and tactile inspection.
- Compare alignment with the template, reference or positioning line.
- Manually check the firmness of the fastening on control samples.
- Stop and segregate immediately any piece with a repeated defect.
- At the end of the shift, record incidents, adjustments made and pending material.
During production, control should be brief but constant. It is not enough to validate the first piece and assume that everything will remain stable. If a slight misalignment appears, if the rivet loses consistency or if the material starts to become marked, action must be taken at that moment. A common defect is a poorly seated component, which may look crooked or have an irregular closure. Another frequent issue is deformation, visible when the piece does not keep its shape or when the edge is crushed. It is also important to watch for poor fastening, because sometimes it cannot be assessed by sight alone and requires a quick manual check.
When an incident is detected, the most useful approach is to stop, isolate the affected pieces and identify the cause before continuing. If the problem is in the feeding, the setting or a variation in the material, continuing production only multiplies the waste. Recording what happened, when it happened and what adjustment was made helps the next operator avoid repeating the same error at shift change.
How we work at JOPEVI to give stability to processes with grommets
At JOPEVI, we have spent decades linked to industrial processes with grommets, especially in environments such as footwear, leather goods, garment manufacturing and applications on technical materials. That experience has taught us something very clear: sustained quality depends not only on the equipment, but also on how daily control is organised around the workstation.
That is why, when we speak with manufacturers, we stress the importance of defining shared criteria between shifts. If one operator accepts a slight deviation as valid and the next rejects it, the line loses consistency and conflicts appear that actually come from a lack of standardisation. Uniformity in visual and functional criteria reduces errors, speeds up decisions and improves material use.
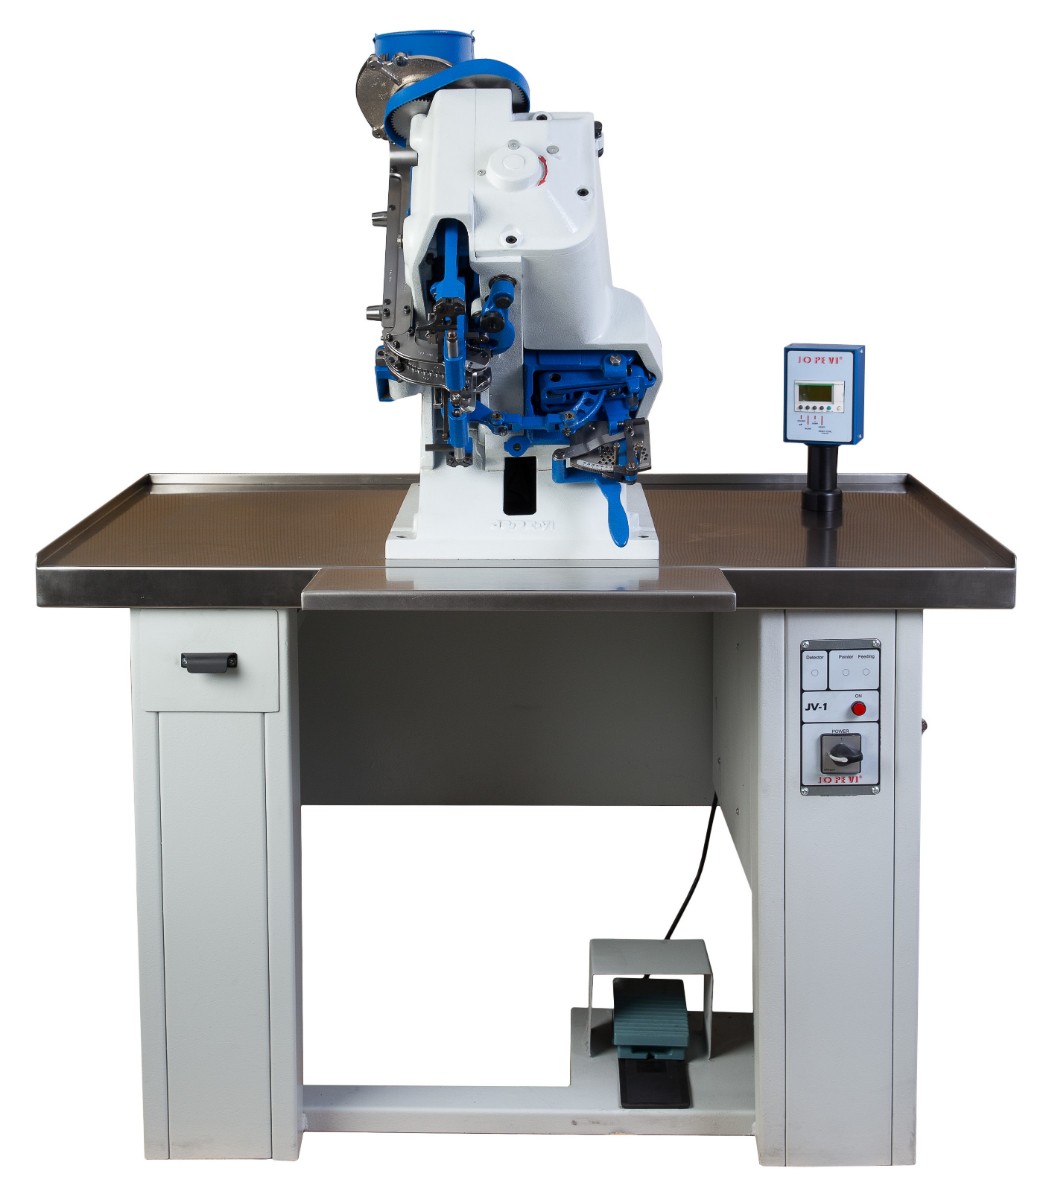
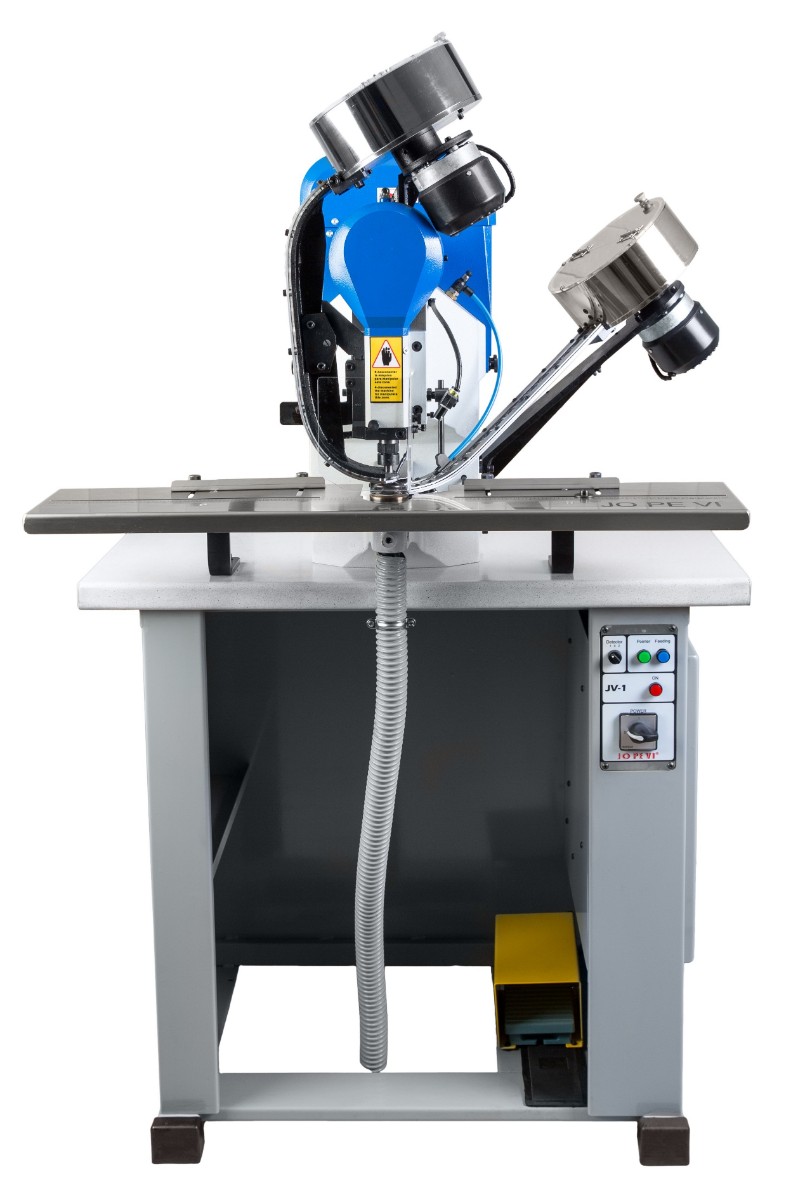
We also know that good communication between production staff makes a real difference. Recording a setting change, an incident with a batch or an observation about how the substrate behaves prevents the next shift from starting blind. In that logic, JOPEVI machinery for setting components can be an option that many manufacturers may value when reviewing and strengthening their processes, especially if they are looking for a more stable and consistent working environment. If you would like more information or want to discuss your specific case, you can speak with our team through the contact page.
At the end of each working day, we recommend checking the last pieces produced, cleaning the area, leaving the identified consumables ready and noting any pending anomaly. This orderly close makes the next start-up safer and ensures that control over grommets does not depend on one person’s memory, but on a system shared by the whole team.
- Phone: +34 966 65 10 08
- Email: info@jopevi.es
- Address: C/ Nicolás De Bussi, 32 (Elche Parque Empresarial), Elche, Alicante, España